You open the drawer for your favorite silver chain and it has gone grey, almost black in the links. The internet offers a dozen fixes, from toothpaste to ketchup to a bowl of foil. Some work beautifully. Some quietly sand away a little of your silver every time you use them.
Here is what tarnish actually is, the gentlest way to remove it, which pieces need a lighter touch, and how to store silver so you clean it less often. The most careful advice on this comes from museum conservators, who look after silver that has to last for centuries, so that is where we started.
The short answer.
Tarnish is a thin black layer of silver sulfide, not dirt. Start with the gentlest method that works and only move up when you need to:
- Wash in warm water with a drop of mild dish soap and a soft brush.
- Buff light tarnish with a silver polishing cloth.
- Soak plain, heavily tarnished sterling in a hot foil and baking soda bath, which turns the tarnish back into silver.
- Skip toothpaste, dips and the foil bath on anything plated, blackened on purpose, hollow, or set with pearls or soft stones.
- Store each piece in a small sealed bag, away from rubber and wool.
925
Parts per thousand of pure silver needed to be called sterling in the US
900
Parts per thousand for coin silver
958
Britannia silver, one of the UK hallmark standards
7.78 g
UK silver items lighter than this need no hallmark
01 / Before you start
First, check what you are cleaning.
Every cleaning method below works on solid silver. The trouble starts when a piece is only silver on the surface, has a finish you want to keep, or has stones that do not like heat, water or chemicals. Conservators at the Canadian Conservation Institute begin every treatment the same way, as their guide to silver care and tarnish removal explains: look for hallmarks, solder joins, hollow parts, gilding and decoration before touching anything. It takes a minute and saves the piece.
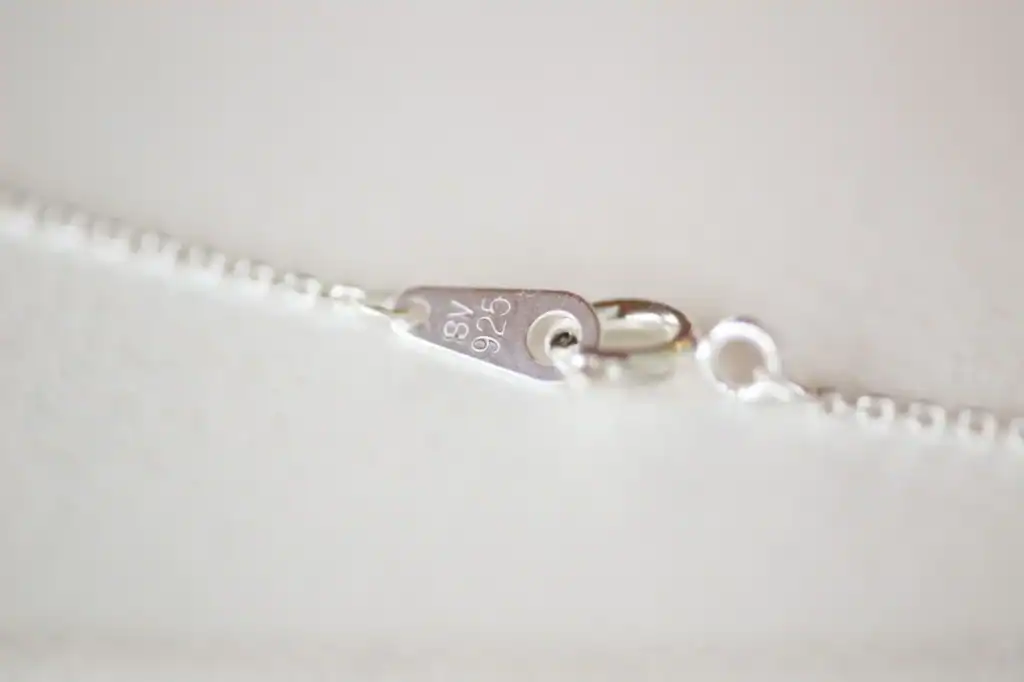
Look for a stamp on the clasp, the inside of a ring band or a small tag near the end of a chain. Under the US rules on silver content, the words sterling, sterling silver, solid silver and the abbreviation ster. may only be used for silver that is at least 925 parts per thousand pure. The rest of the alloy is usually copper, which is also why sterling darkens, as our guide on which metals are safe for sensitive skin explains.
- 925 · Sterling · Ster. Solid sterling silver all the way through. Every method in this guide can be used, as long as there are no stones or special finishes.
- 900 · Coin Coin silver, at least 900 parts per thousand in the US. Clean it like sterling.
- 958 · 800 · 999 Other silver standards you may see on UK and European pieces. 958 is Britannia silver, 999 is fine silver.
- 925 + vermeil Gold over sterling silver. Treat it as plated: polishing cloths and dips can remove the gold.
- Silver plated · silver tone A thin silver layer over another metal, or just the color of silver. Soap and water only.
- No stamp at all Could be anything. Clean it as if it were plated until you know more.
If your piece is gold-colored over silver, our guide to what vermeil and gold-plated pieces are made of tells you how thick that gold layer really is. Some silver pieces are also rhodium-plated for a brighter, whiter surface. Rhodium is a plating, so treat those pieces like any plated jewelry and keep abrasives away from them.
02 / The chemistry
Why silver turns black.
Silver reacts with sulfur compounds in the air, mainly hydrogen sulfide, and forms silver sulfide. It builds up gradually as a thin dark film. It is a surface layer, not damage, and it does not mean your silver is fake.
That distinction matters for cleaning. A polish removes tarnish by gently abrading the surface, so each polish takes a tiny amount of silver with it and can leave fine scratches. Chemical dips dissolve the tarnish, but they also remove some metal. The foil bath is different: it converts the silver sulfide back into silver metal on the piece, so nothing is lost.
Sulfur does not only come from the air. The Canadian Conservation Institute lists everyday materials that give off sulfur gases and tarnish silver nearby:
- Rubber: elastic bands, latex gloves, rubber stoppers, O-rings and pencil erasers.
- Wool, wool felt, hair and feathers.
- Some paints, protein-based glues, plaster, cement and grout.
- Some modelling clays.
So a silver bracelet kept in a drawer with a bundle of rubber bands, or a felt-lined box of unknown material, will darken faster than one kept on its own.
Every polish takes a little silver with it. The foil bath gives it back.
03 / Step by step
Start gentle: the cleaning ladder.
Work from the top of this list down, and stop as soon as the piece looks the way you want. Conservators favor a mild method used a little longer over an aggressive one used quickly.
- Wash. Warm water, a drop of mild dish soap and a soft brush, such as a soft toothbrush or a clean makeup brush. Rinse in a bowl of clean water rather than under the tap, so nothing small disappears down the drain, then dry completely with a soft cloth. This removes skin oil, lotion and grime, which often makes silver look duller than the tarnish does.
- Buff with a silver cloth. Polishing cloths carry a fine abrasive and are the gentlest of the polishes, ideal for light tarnish. Use a cloth made for silver, keep it in its bag, and switch to a clean area as it turns black.
- Foil bath for heavier tarnish. For plain sterling only, especially chains and textured pieces a cloth cannot reach. Full instructions below.
- Paste polish. For stubborn spots on plain pieces. Conservators use precipitated calcium carbonate, also sold as precipitated chalk, mixed with water into a thick paste and applied with soft cotton. Use a silver-specific polish if you buy one, never a general metal polish. Many silver polishes contain ammonia, which can leave a green residue, so rinse and dry thoroughly afterwards.
- Dip, as a last resort. Silver dips work fast because they contain acids and complexing agents, but they also remove metal and can pit the surface. If you use one, dab it on with a cotton swab instead of immersing the piece, rinse straight away, wear rubber gloves and open a window. Never dip hollow pieces, blackened details or anything with stones.
Our take
My rule: always start at the top of the ladder. Soap, water and a soft silver cloth are where every clean begins, and every step down the list costs a little silver. Keep the cloth in the drawer next to your jewelry, not under the sink with the cleaning products, and you will use it before the tarnish gets heavy.
What about toothpaste and baking soda paste?
Both are abrasives. Jewelry makers who sell blackened silver warn that baking soda paste and toothpaste can scratch silver and lighten a darkened finish, and toothpaste is not made or tested for metal. A silver polishing cloth does the same job more gently, and it is designed for it.
04 / The foil trick
The foil and baking soda bath, done safely.
This is the one kitchen trick backed by the chemistry of removing silver tarnish. Aluminum gives up electrons more easily than silver, so when tarnished silver touches aluminum in a warm, salty or alkaline solution, the sulfur moves from the silver to the aluminum and the silver sulfide turns back into silver. Conservators use the same principle with washing soda. The faint rotten-egg smell is hydrogen sulfide, a by-product.
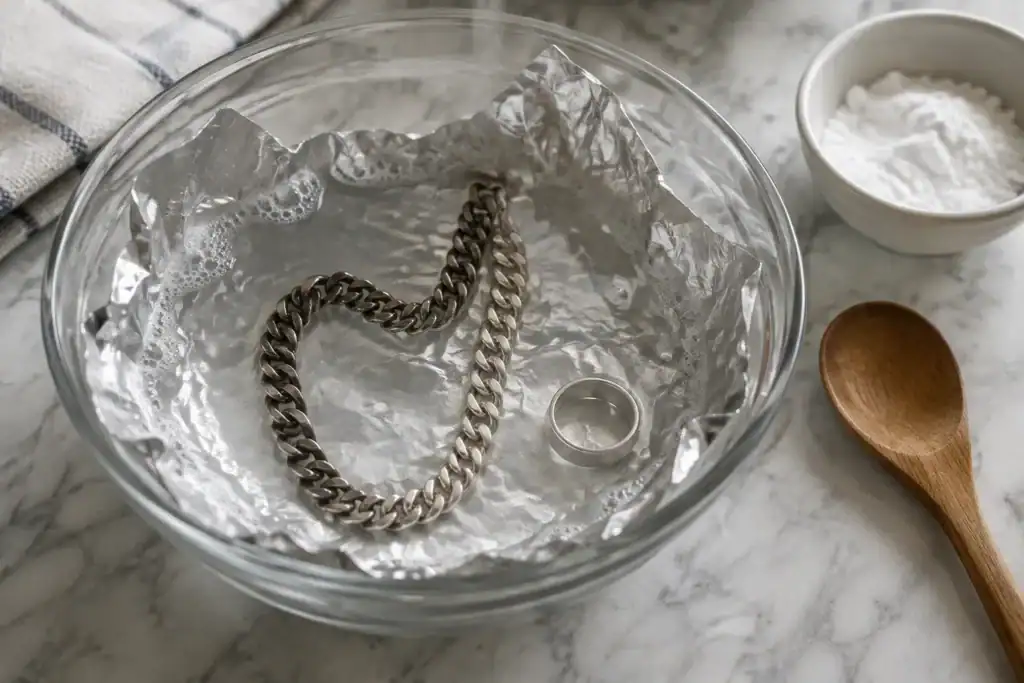
- Line a heat-safe glass or ceramic bowl with a fresh piece of aluminum foil. Old, corroded foil works poorly and can cause pitting, so do not reuse it.
- Add hot water and baking soda. Pour in water just off the boil and stir in baking soda until it dissolves. Washing soda, the version conservators use, works too. A pinch of salt helps the reaction.
- Lay the silver on the foil. It has to touch the aluminum. Spread chains out so every part makes contact.
- Watch, then lift out. The tarnish fades as you watch. Lift the piece out with wooden or plastic tongs as soon as it looks clean, and open a window for the smell.
- Rinse, dry and buff. Rinse in clean water and dry completely. The bath leaves a soft, matte look; a few strokes with a silver cloth bring the shine back.
When not to use the foil bath
Skip it for anything plated or vermeil, blackened on purpose, glued, hollow or sealed (lockets, hollow beads, some charms), and anything set with pearls, opal, turquoise, coral, amber or other delicate stones. Liquid trapped inside hollow pieces cannot be rinsed out, and hot water can soften glue and harm heat-sensitive stones. Conservators also note that silver cleaned this way can tarnish again a little faster than polished silver, so store it well afterwards. For antiques and heirlooms, ask a jeweler or a conservator first.
Our take
I like the foil bath for plain chains with fine links, where a cloth cannot reach into every gap. Anything with a stone, a pearl, a blackened detail or a plated surface stays out of the bowl, no exceptions.
05 / Special cases
Pieces that need a lighter touch.
Silver with stones or pearls.
Clean the metal around the stone, not the stone itself. GIA, the Gemological Institute of America, recommends warm water, mild soap and a soft brush for most colored gems, and a clean makeup brush in warm, soapy water for pearls, which should then dry flat on a towel. Pearls, coral, amber and other organic gems are porous, and turquoise and opal are sensitive to heat and chemicals, so they never go into hot baths, dips or polish.
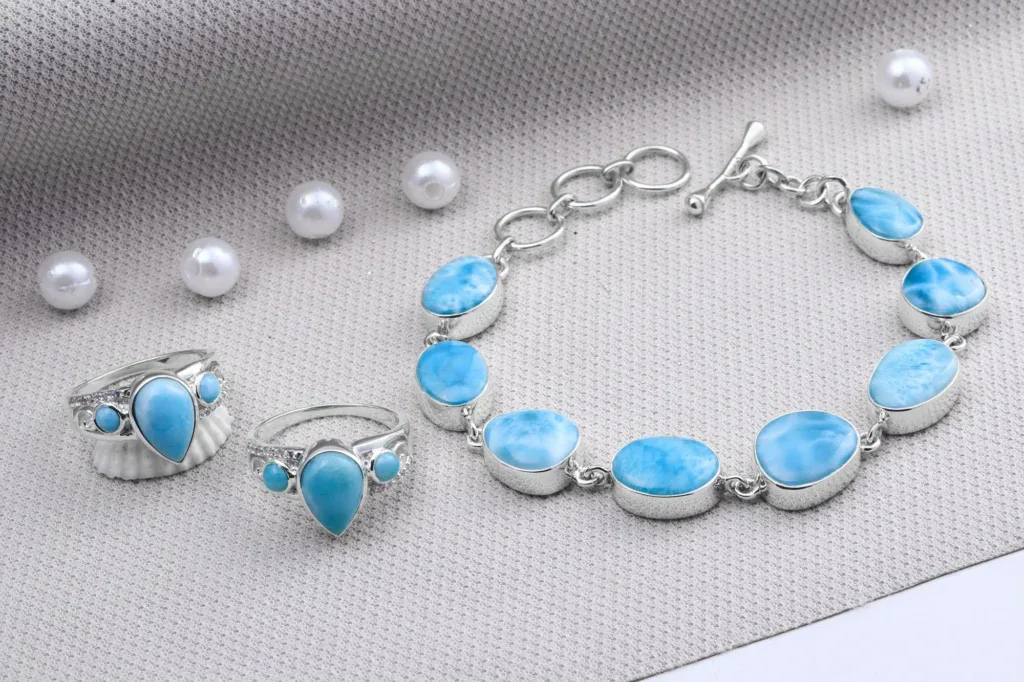
Home ultrasonic cleaners are another trap. GIA's guide to gems and ultrasonic cleaners lists pearls, coral, amber, opal, turquoise, emerald, lapis lazuli, malachite, tanzanite, moonstone, topaz and zircon among the gems that should not go in one, along with any stone that has been filled, coated or treated. The vibration can also loosen stones in their settings. If you are not sure what your stone is, leave the ultrasonic in the cupboard.
Blackened (oxidized) silver.
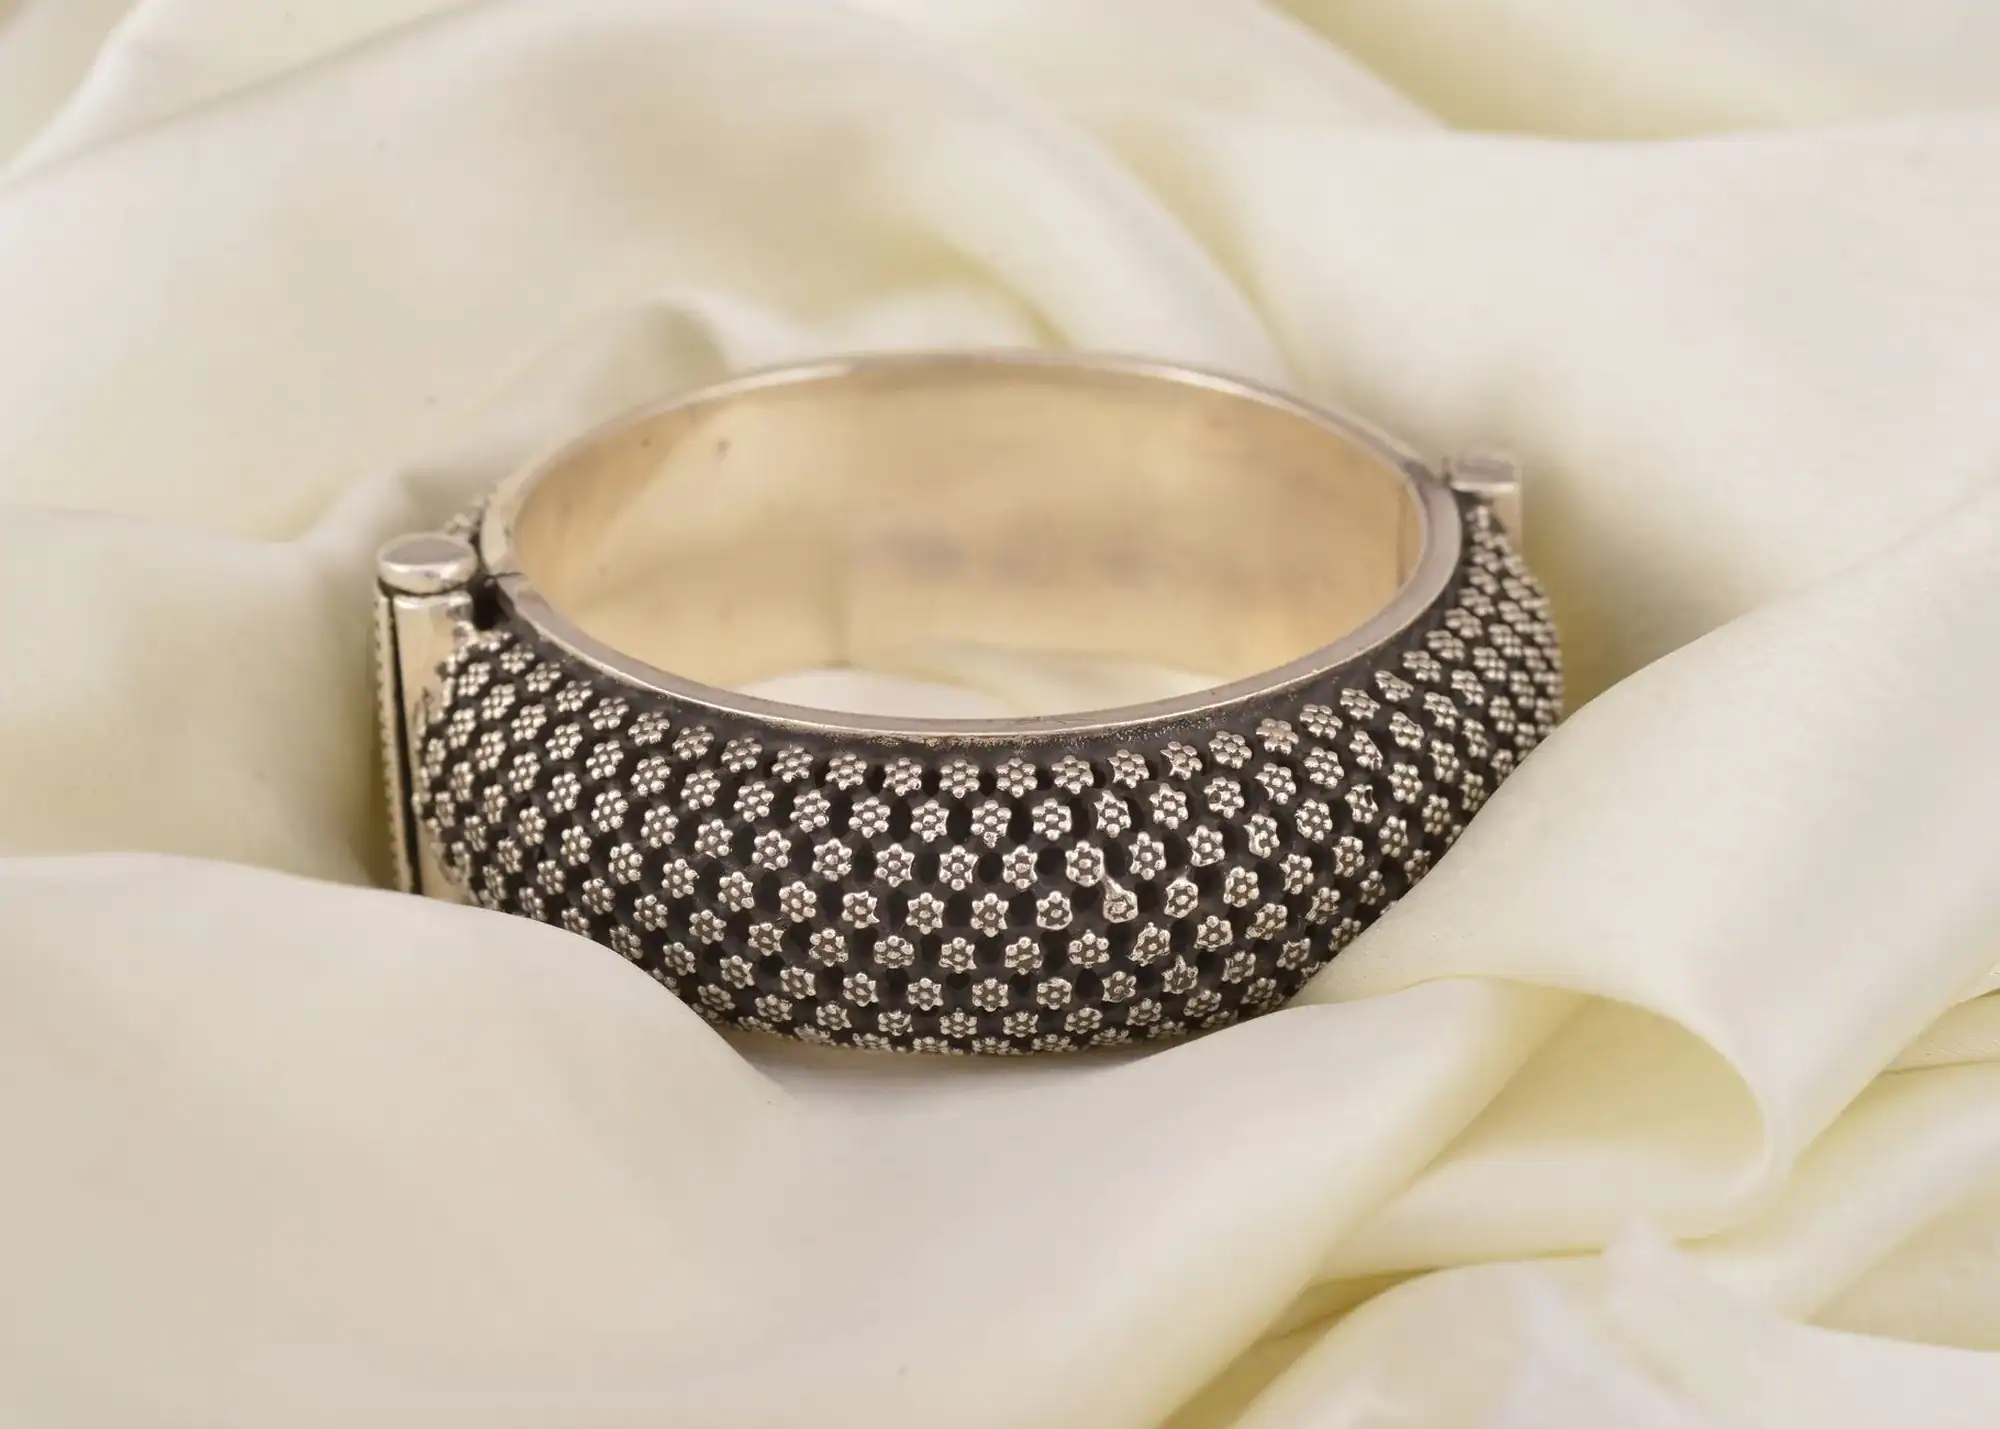
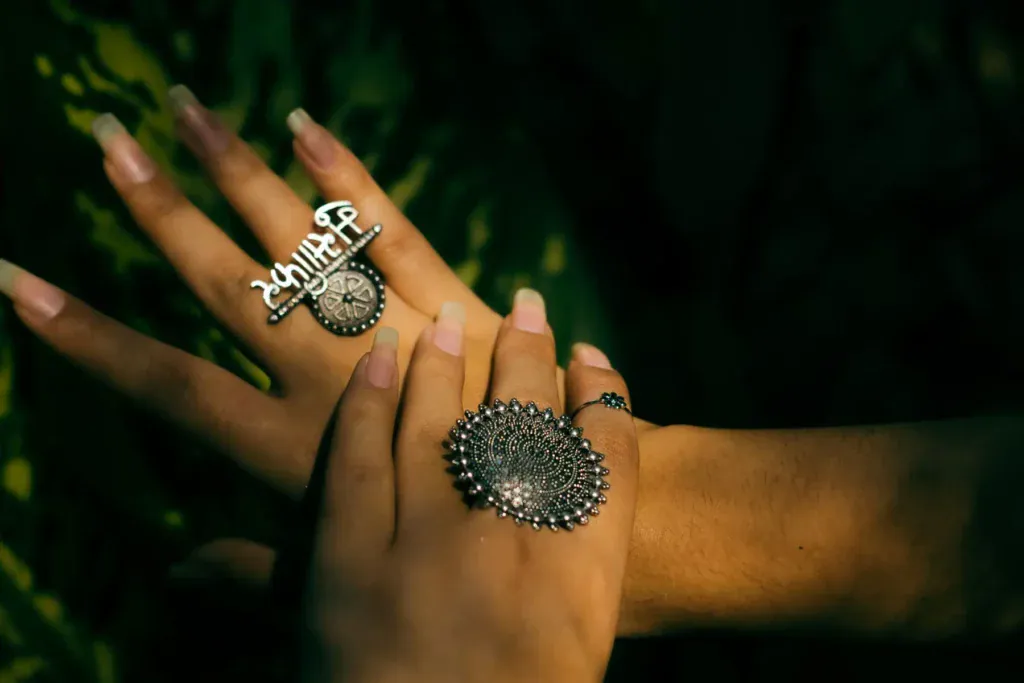
Some silver is darkened on purpose to make patterns and textures stand out. That black finish is the same silver sulfide as tarnish, made deliberately, so anything that removes tarnish removes the design too. Dips, the foil bath and pastes will strip it. Wash these pieces with soap and water, and use a polishing cloth only on raised areas you want to brighten, the way makers do when they finish them.
Which method for which piece.
| Soap and water | Silver cloth | Foil bath | Paste polish | Dip | |
|---|---|---|---|---|---|
| Plain sterling, light tarnish | Yes | Yes | Not needed | Not needed | No |
| Plain sterling, heavy tarnish | Yes | Yes | Yes | Yes | Last resort, by swab |
| Blackened (oxidized) details | Yes | Raised areas only | No | No | No |
| Set with hard stones | Yes | Metal only | No | Metal only, carefully | No |
| Pearls, opal, turquoise, coral, amber | Gently, metal only | Metal only | No | No | No |
| Silver-plated, rhodium-plated, vermeil | Yes | No | No | No | No |
| Hollow or sealed (lockets, beads) | Wipe, do not soak | Yes | No | Yes, sparingly | No |
06 / Prevention
How to keep silver from tarnishing.
You cannot stop tarnish completely, but you can slow it a lot by keeping sulfur gases and moisture away from your silver. Conservators store silver wrapped in acid-free, sulfur-free tissue inside a sealed polyethylene bag, often with a sachet of silica gel to keep it dry and activated charcoal to absorb tarnishing gases. At home that translates into a few easy habits:
- Store each piece in its own small zip-top bag, pressed flat to push the air out, or in an anti-tarnish pouch.
- Add an anti-tarnish strip or a little activated charcoal to your jewelry box or drawer.
- Keep silver away from rubber bands, latex, wool and felt of unknown origin.
- Remove silver before swimming in a chlorinated pool, using a hot tub or cleaning with household chemicals.
- Put jewelry on after lotion, perfume and hairspray have dried.
- Wipe pieces with a soft cloth after wearing to remove skin oils, and let them dry fully before putting them away.
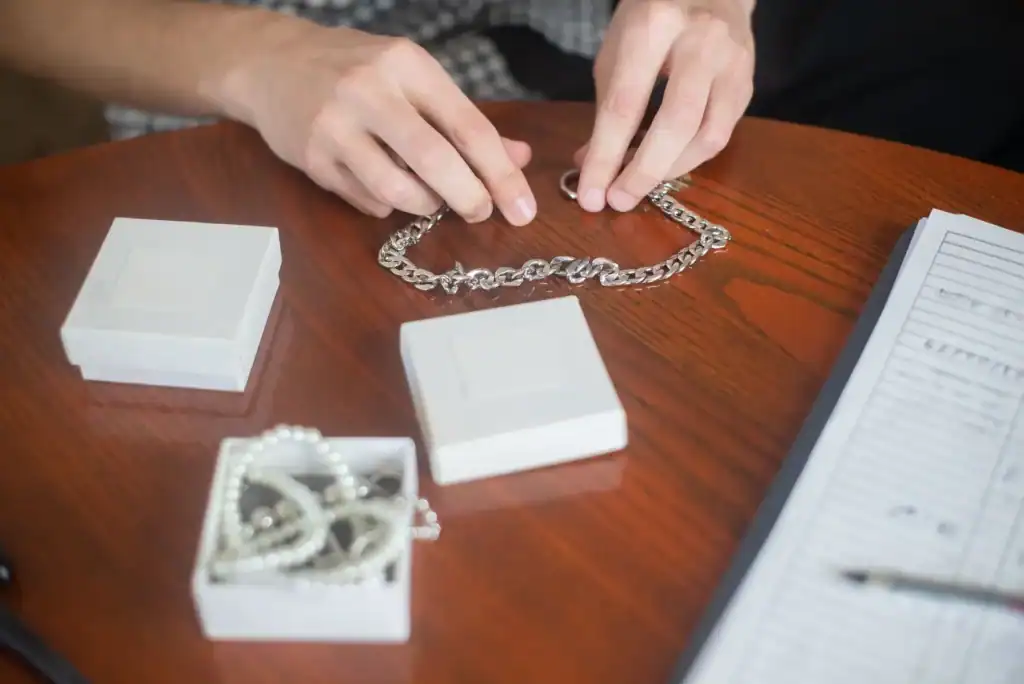
Tarnish-preventing cloths work too. The Canadian Conservation Institute rates cloths embedded with fine silver particles as the most effective type, and cloths treated with other metal salts as less effective. One caution for mixed jewelry boxes: GIA notes that pearls and opals absorb moisture from the air and can suffer if stored somewhere very dry, so keep them out of bags packed with silica gel.
Our take
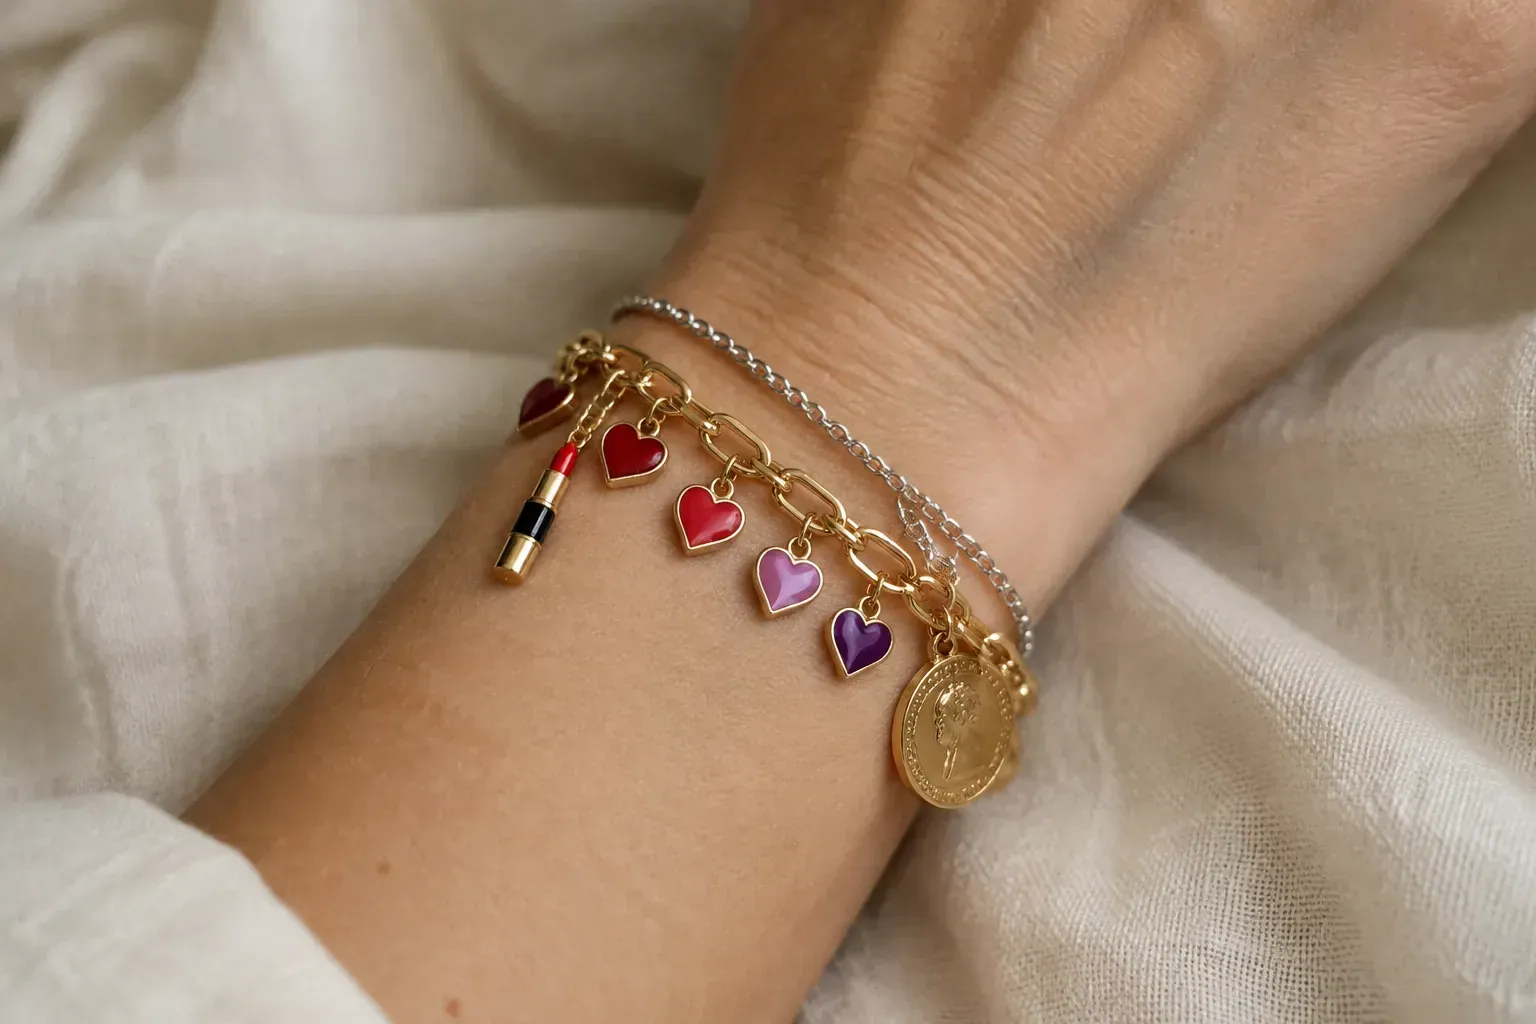
Small zip bags, one piece each, are my favorite storage trick for silver. They cost almost nothing, stop chains tangling and keep the air out. Storing pieces apart matters even more if you are layering charm necklaces and bracelets. Add an anti-tarnish strip to the drawer and let the jewelry box do some of the work for you.
Questions, answered.
Why does my silver jewelry turn black?
Silver reacts with sulfur compounds in the air, such as hydrogen sulfide, and forms a thin layer of black silver sulfide. Rubber, wool, some paints and glues give off sulfur gases too, so storage matters. Tarnish is a normal reaction of real silver, not a sign that it is fake.
Is the aluminum foil and baking soda method safe for silver jewelry?
For plain solid sterling, yes. It converts the tarnish back into silver instead of polishing it away. Use fresh foil, lift the piece out as soon as it is clean, and rinse and dry it well. Do not use it on plated, vermeil, blackened, hollow or glued pieces, or on anything with pearls or delicate stones.
Can I clean silver jewelry with toothpaste?
It is better not to. Toothpaste is an abrasive that is not made for metal, and it can scratch silver and lighten a deliberately darkened finish. A silver polishing cloth does the same job more gently.
Can I wear silver jewelry in the pool?
Take it off first. GIA advises removing fine jewelry before swimming in chlorinated pools and before using household cleaners, because chemicals can damage or discolor silver and other precious metals.
How do I store silver jewelry so it does not tarnish?
Keep each piece in its own sealed bag or anti-tarnish pouch, add an anti-tarnish strip or activated charcoal to the drawer, and keep silver away from rubber bands, latex, wool and felt. Make sure pieces are clean and completely dry before you put them away.
Will cleaning remove the black from oxidized silver?
Yes, most tarnish removers will. The black finish is silver sulfide applied on purpose, so dips, the foil bath, pastes and heavy polishing remove it along with tarnish. Wash oxidized pieces with mild soap and water and polish only the raised areas.
Does 925 silver wear off?
No. A 925 stamp means the piece is sterling silver all the way through, so there is no layer to wear through, although every polish removes a very thin amount of metal. Silver-plated pieces are different: their thin silver layer can wear off at rubbing points.
The takeaway
Check what you have, then go gently: soap and water, a silver cloth, and the foil bath only for plain sterling. Keep anything plated, blackened, hollow or set with soft stones away from baths, dips and pastes, and store each piece sealed and dry so you clean less often.