
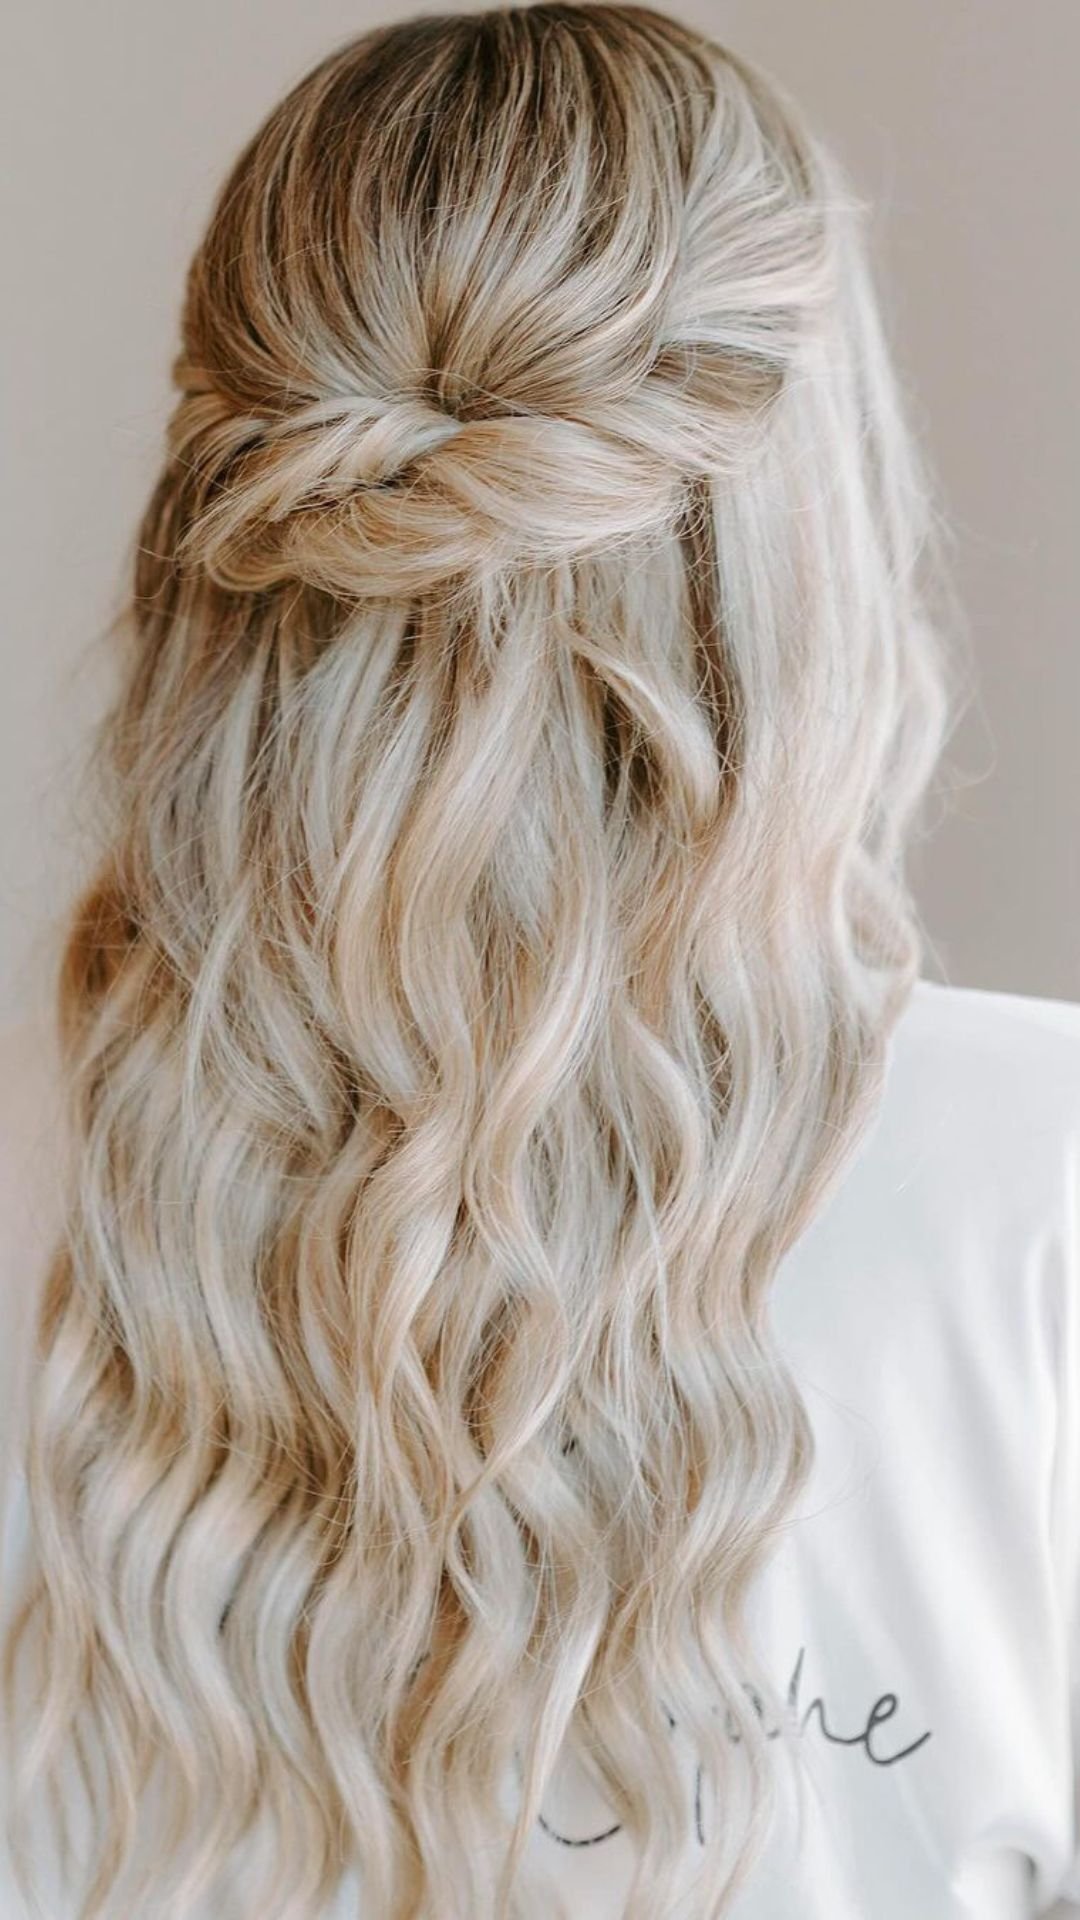
The Butterfly Cut is dominating social media as Fall 2022’s hottest hair trend, featuring an ultra-sexy, volumized, and layered look. To achieve the desired results for your clients, it’s crucial to understand the technical aspects of this trend. Learn the art of balancing and adding volume to this cut with valuable tips from the trendsetter himself, @ahappyjustin!
Step 1:
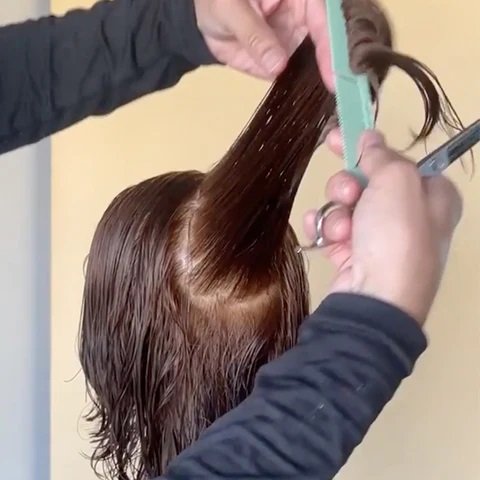
Commence Sectioning the Fringe in a Triangle The thickness of the fringe your client desires will dictate the depth of the triangular section. It’s essential to communicate and clarify this aspect to avoid an unbalanced appearance.
BUTTERFLY CUT IN 3 STEPS
Once the triangular section is established, proceed with cutting the fringe using the following technique:
- Split the triangle into three even, vertical sections.
- Begin by cutting the middle section; this serves as your guide (labeled as 2 in the image below).
- Take each side section and overdirect the hair forward, cutting it to match the length of the middle guide.
[Note: Unfortunately, I can’t provide an image as I can only generate text.

Step 2:
Create The Butterfly Face-Frame With Vertical Sections The key to the “butterfly” layered effect is cutting smooth, even sections that do not fray through the ends. Creating any kind of hole or breakage will disrupt the symmetrical blend needed. Јewelryartcorner
BUTTERFLY CUT IN 3 STEPS
Here’s the procedure for cutting the face-framing section:
- Begin your face-framing sections behind the fringe and conclude them upon reaching the ear.
- Take vertical sections, ensuring each one is overdirected to the front, while still using your initial guide for cutting.
- Maintain the hair in each section at a 90-degree angle; this guarantees the creation of well-balanced layers.
Pro Tip: Exercise caution to prevent a gradual increase in the size of these vertical sections.
Step 3: Introduce Layering Through the Back Without Sacrificing Length Preserving length in the back is crucial to prevent transforming this layered cut into a shag. Each layer should gracefully cascade over the next, forming an organic graduation.
To achieve layered length in the back, follow these steps:
- Justin suggests working with larger, less precise sections throughout the back of the head.
- Hold the hair at a 45-degree elevation; this preserves the length while fostering blended layers.
- Employ very light tension when cutting. Pulling the hair too tightly may result in shorter layers during the blow-drying process.
Pro Tip: Bring the crown section fully forward at a 45-degree angle and cut it to the length of the fringe guide. This technique ensures a perfect balance from the face frame into the longer layers. Јewelryartcorner
BUTTERFLY CUT IN 3 STEPS
BUTTERFLY CUT IN 3 STEPS
RELATED POSTS
View all
Vintage-inspired Prom Hairstyles to Transport You Back in Time
April 11, 2024 | by jewelryartcorner.com

The swatches of Pat McGrath’s Lust 004 are truly unreal.
February 21, 2024 | by jewelryartcorner.com
Unveiling the 22 Essential Characteristics of Alpha Females
May 4, 2024 | by jewelryartcorner.com